How To
Making a fire & Chopping wood
To get the most out of chopping wood, only use wood that has been stored dry for at least a year and is as knot-free as possible. The best results are achieved with a good splitting axe. It has a large and heavy head that has been forged and sharpened into a curved shape with a thin cutting edge that is perfect for chopping along the wood fibres. I recommend the large splitting axe or the splitting hammer from the Swedish Master forge Gränsfors Bruk. It has been supplying woodcutters from the Amazon to Siberia for over a hundred years, and each axe bears the initials of the blacksmith who made it entirely by hand.
The wood to be split is placed on a 50-70 cm high (depending on height) stable block of wood. You should aim for any existing cracks in the wood for the blow. In addition, it is essential to ensure that the wood is stable before striking with all your strength. The aim is to split the log with the first blow. The force of the blow causes the logs to fly apart with great vehemence, so always make sure there is enough space to the side and warn anyone standing around.
After chopping the wood, it's time to make a fire. In addition to matches, a Bunsen burner is a huge help when lighting a fire. Nobody wants to be dependent on flint and dry moss for barbecuing fun these days.
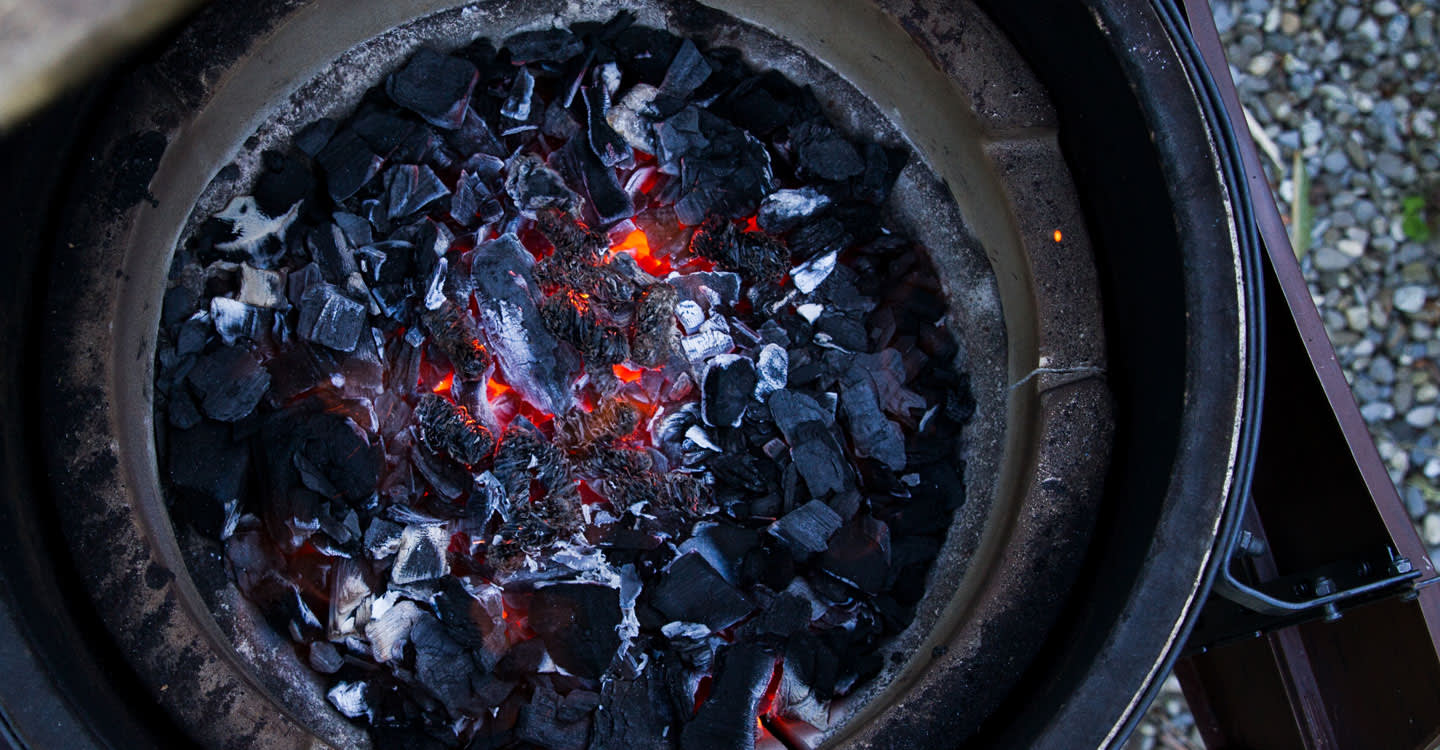
Dry wood that has been stored for at least a year is important for a good fire. Most commonly used is beech wood, which burns more evenly and longer than wood from conifers. When lighting the fire, make sure that the base is dry; wet forest soil is less suitable. The fire pit should also be surrounded by large stones, which can store additional heat and transfer it evenly to the food. Lighting aids are welcome, but please only use natural ones such as wood wool rolls soaked in wax. After all, the fire has to burn down first before it transforms into embers suitable for barbecuing.